10 Most Common 3D Printing Beginner Mistakes (And How to Avoid Them)
Almost every 3D printing beginner makes these mistakes. Learn from others and save yourself frustration, time, and filament with our tips.
3D printing can be frustrating - especially at the beginning. You’ve set up the printer, loaded your first model, and then: spaghetti, non-sticking prints, or strange surfaces.
The good news: Almost all these 3D printing beginner mistakes are avoidable. In this guide, I’ll show you the 10 most common mistakes I see from 3D printing beginners - and how to avoid them.
Mistake 1: Not Properly Preparing the Print Bed
The most common beginner mistake in 3D printing is a poorly prepared print bed. The first layer is the foundation of your print - if it doesn’t stick, everything fails.
The Problem
- Print detaches during printing
- Corners lift up (warping)
- First layer looks messy
The Solution
- Clean the bed before EVERY print with isopropyl alcohol (IPA 99%)
- Never touch the print surface with bare fingers
- Check bed leveling regularly
- Correct temperature: PLA 50-60°C, PETG 70-80°C
Pro Tip
If nothing helps: A thin layer of glue stick (Elmer’s) on the bed works wonders, especially for PETG.
Mistake 2: Wrong Bed Leveling
Even with automatic leveling, you need to understand what a good first layer looks like. Many beginners skip this step.
The Problem
- Too close: Nozzle scratches, filament gets squished (elephant foot)
- Too far: Filament doesn’t stick, becomes too thin
The Perfect First Layer
The first layer should be:
- Slightly squished (not round, not flat)
- Lines that touch, not overlap
- Smooth, not gappy surface
The Solution
- Use your printer’s automatic leveling
- Fine-tune the Z-offset while printing
- Watch the first layer - cancel if it’s not right
- Paper test: With manual leveling, paper should have slight resistance
Mistake 3: Too Complex Projects at the Start
I understand the excitement: You want to immediately print that 15-hour project with complex supports. But that’s a recipe for frustration.
The Problem
- Long prints fail after hours
- Complex supports go wrong
- Frustration instead of learning
The Solution
Week 1:
- 3D Benchy (test print)
- Calibration cube
- Simple objects without supports
Week 2-3:
- Small practical prints
- First prints with minimal supports
- Maximum 3-4 hours print time
After that:
- Gradually increase complexity
- Build experience over time
Pro Tip
Every “failed” short print is a learning moment. Better to lose 10 minutes than 10 hours. Need inspiration for easy starter projects? See our list of 10 things to print with a new 3D printer.
Mistake 4: Buying Cheap Filament
“Filament is filament” - this misconception costs many beginners nerves and ultimately more money.
The Problem
- Clogged nozzles
- Inconsistent prints
- Strange surfaces
- Frequent failed prints
Why Cheap Filament Is Problematic
- Inconsistent diameter: Varies between 1.70-1.80mm instead of constant 1.75mm
- Contamination: Particles clog the nozzle
- Poor winding: Tangles and knots
- Moisture problems: Poorly packaged from the factory
The Solution
Invest in quality filament:
- Bambu Lab - Excellent quality
- Prusament - Premium standard
- eSun - Good value for money
- Polymaker - Consistent and reliable
Guideline: $18-25/kg for PLA is fair. Below $15 gets risky.
Mistake 5: Wrong Print Temperature
Every filament has an optimal temperature range. The default setting in your slicer (like Cura or Bambu Studio) is often just a starting point.
The Problem
- Too hot: Stringing, messy details, overhangs sag
- Too cold: Poor layer adhesion, under-extrusion, weak prints
The Solution
- Print a temperature tower with your new filament
- Start in the middle of the manufacturer’s recommendation
- Adjust in 5°C increments
Typical temperatures:
- PLA: 200-220°C (optimal usually 210°C)
- PETG: 230-250°C (optimal usually 240°C)
- TPU: 220-240°C
Pro Tip
Write the optimal temperature directly on each filament spool.
Mistake 6: Ignoring Retraction
Retraction pulls the filament back while the print head moves. Wrong settings = stringing nightmare.
The Problem
- Thin threads between all parts
- “Hairy” prints
- Post-processing needed on every print
The Solution
For Bowden extruders (Ender 3 etc.):
- Retraction Distance: 5-7mm
- Retraction Speed: 40-60mm/s
For Direct Drive (Bambu, modern printers):
- Retraction Distance: 1-3mm
- Retraction Speed: 30-50mm/s
Additional Tips Against Stringing
- Lower temperature by 5-10°C
- Increase travel speed
- Enable “combing” in slicer
- Use dry filament
Mistake 7: Using Wet Filament
Filament is hygroscopic - it absorbs moisture from the air. PETG, nylon, and TPU are especially sensitive.
The Symptoms
- Crackling and hissing while printing
- Bubbles and holes in the surface
- Poor layer adhesion
- Brittle prints
The Solution
Store filament properly:
- In airtight boxes with silica gel
- Use original packaging quickly
- Vacuum bags for long-term storage
Dry wet filament:
- Filament dryer (best option)
- Oven at 50°C for 4-6 hours (careful!)
- Food dehydrators work too
Pro Tip
Invest $30 in a dry box. It saves a lot of frustration and filament long-term.
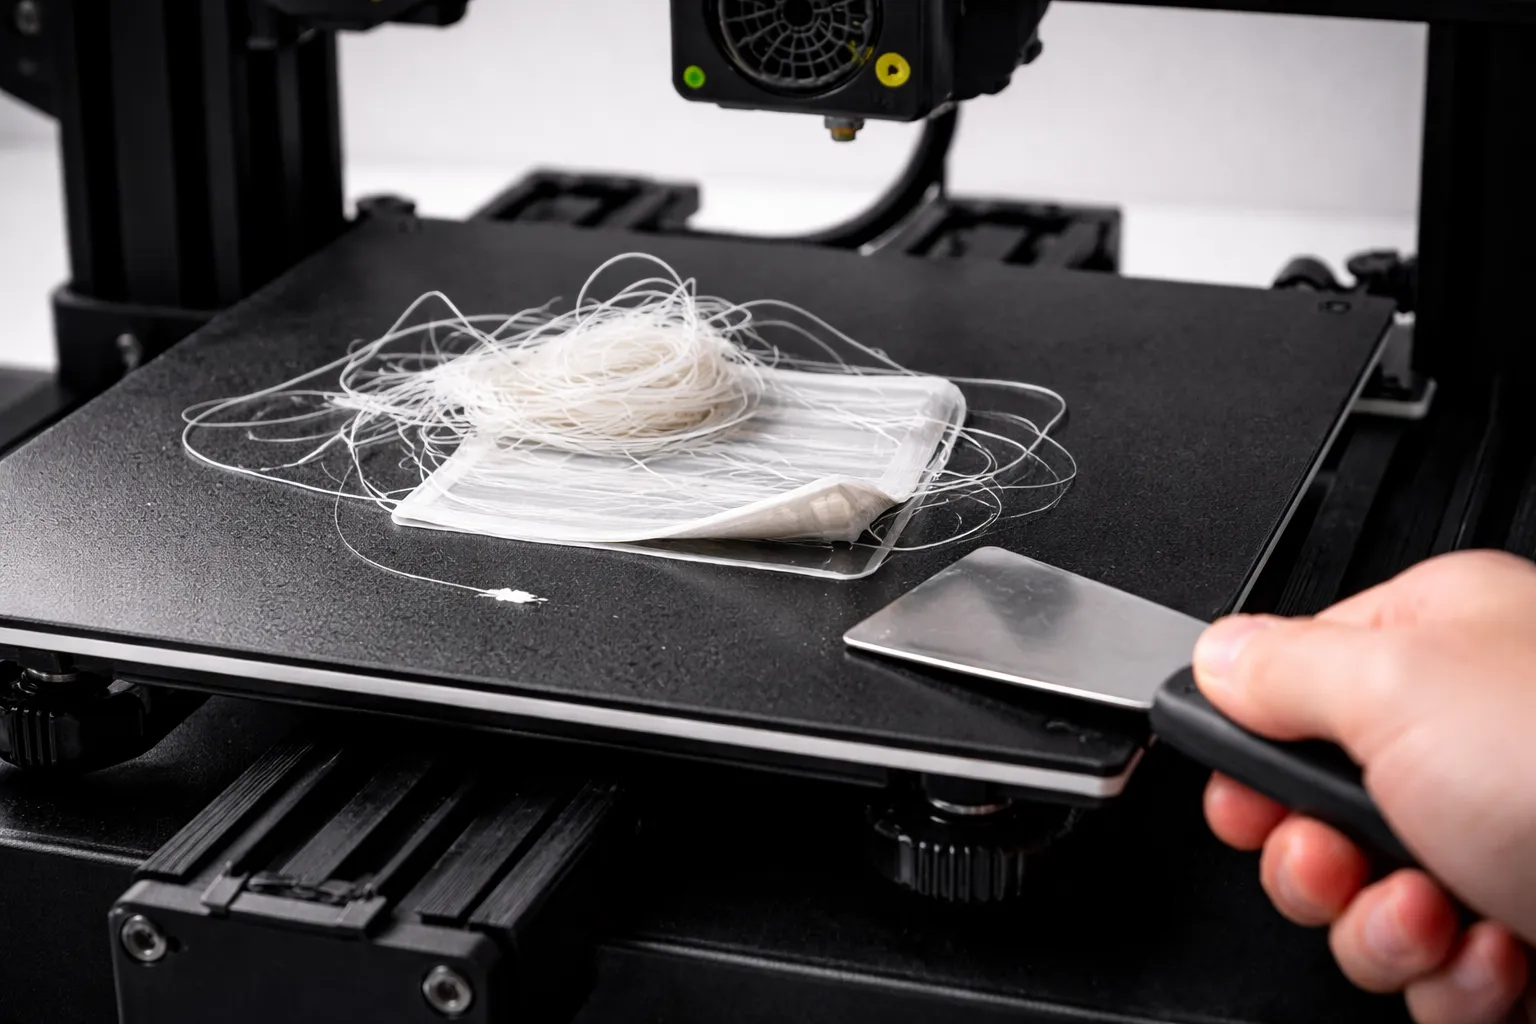
Mistake 8: Not Monitoring Prints
“Print’s running, I’ll go shopping” - what could go wrong? Spoiler: A lot.
The Problem
- Spaghetti monsters (print detaches, printer prints into air)
- Clogged nozzle prints nothing for hours
- Failed prints waste time and material
- Worst case: Fire hazard
The Solution
- Always watch the first layer - 90% of problems show here
- Set up a webcam for remote monitoring
- OctoPrint/Bambu App for remote access and stop function
- Enable spaghetti detection where available
When Can You Leave the Printer Alone?
- First layer is perfect
- First 30-60 minutes ran smoothly
- Camera is set up
- Smoke detector nearby
Mistake 9: Never Adjusting Default Settings
Slicer default settings are a compromise. For optimal results, you need to customize.
The Problem
- Generic settings don’t fit your printer
- Missed quality improvements
- Longer print times than necessary
Important Settings for Beginners
Layer height:
- 0.2mm: Standard, good compromise
- 0.12mm: Fine details, slower
- 0.28mm: Fast, less detailed
Infill:
- 15-20%: Normal objects
- 30-50%: Functional parts
- 100%: Only for mechanical stress
Print speed:
- Initially: 70-80% of default speed
- Increase with experience
The Solution
- Create printer profiles in the slicer
- Document what works
- Change one setting per test - not everything at once
Mistake 10: Giving Up When Problems Arise
3D printing has a learning curve. The first weeks can be frustrating - but it gets better!
The Problem
- Printer ends up in the corner after first failed prints
- Hobby abandoned before it really starts
- Potential remains unused
The Reality
- Week 1-2: Many problems, steep learning curve
- Week 3-4: Most basics are solid
- Month 2-3: 80% of prints succeed
- After 6 months: You’re helping others with their problems
Resources That Help
For problems:
- Reddit: r/3Dprinting, r/FixMyPrint
- Discord: Your printer manufacturer’s server
- YouTube: Teaching Tech Calibration Guide
For learning:
- YouTube: Makers Muse, Teaching Tech
- PrintWiki for troubleshooting
- Slicer documentation
Pro Tip
Take photos of failed prints. In 3 months you’ll laugh about them - and can show others how far you’ve come.
Bonus: Quick Troubleshooting Checklist
Print Won’t Stick
- Clean bed with IPA
- Check leveling
- Increase bed temperature
- Print first layer slower
Stringing
- Increase retraction
- Lower temperature
- Dry filament
- Increase travel speed
Bad Surface
- Adjust temperature
- Reduce print speed
- Check filament (wet?)
- Check cooling
Warping
- Increase bed temperature
- Use enclosure
- Enable brim
- Avoid drafts
Conclusion: Mistakes Are Part of the Process
Every successful maker has made these mistakes. The difference is: They learned from them and kept going.
With this guide, you can avoid the most common 3D printing beginner mistakes from the start - or at least fix them quickly. In a few weeks, you’ll produce prints that seem impossible today.
The most important tip: Be patient with yourself. 3D printing is a skill that improves with practice.
Ready to start? Read our complete 3D Printing Beginner Guide or find out what you should print first. For all our 3D printing content, see the 3D Printing Guide.
Related Articles
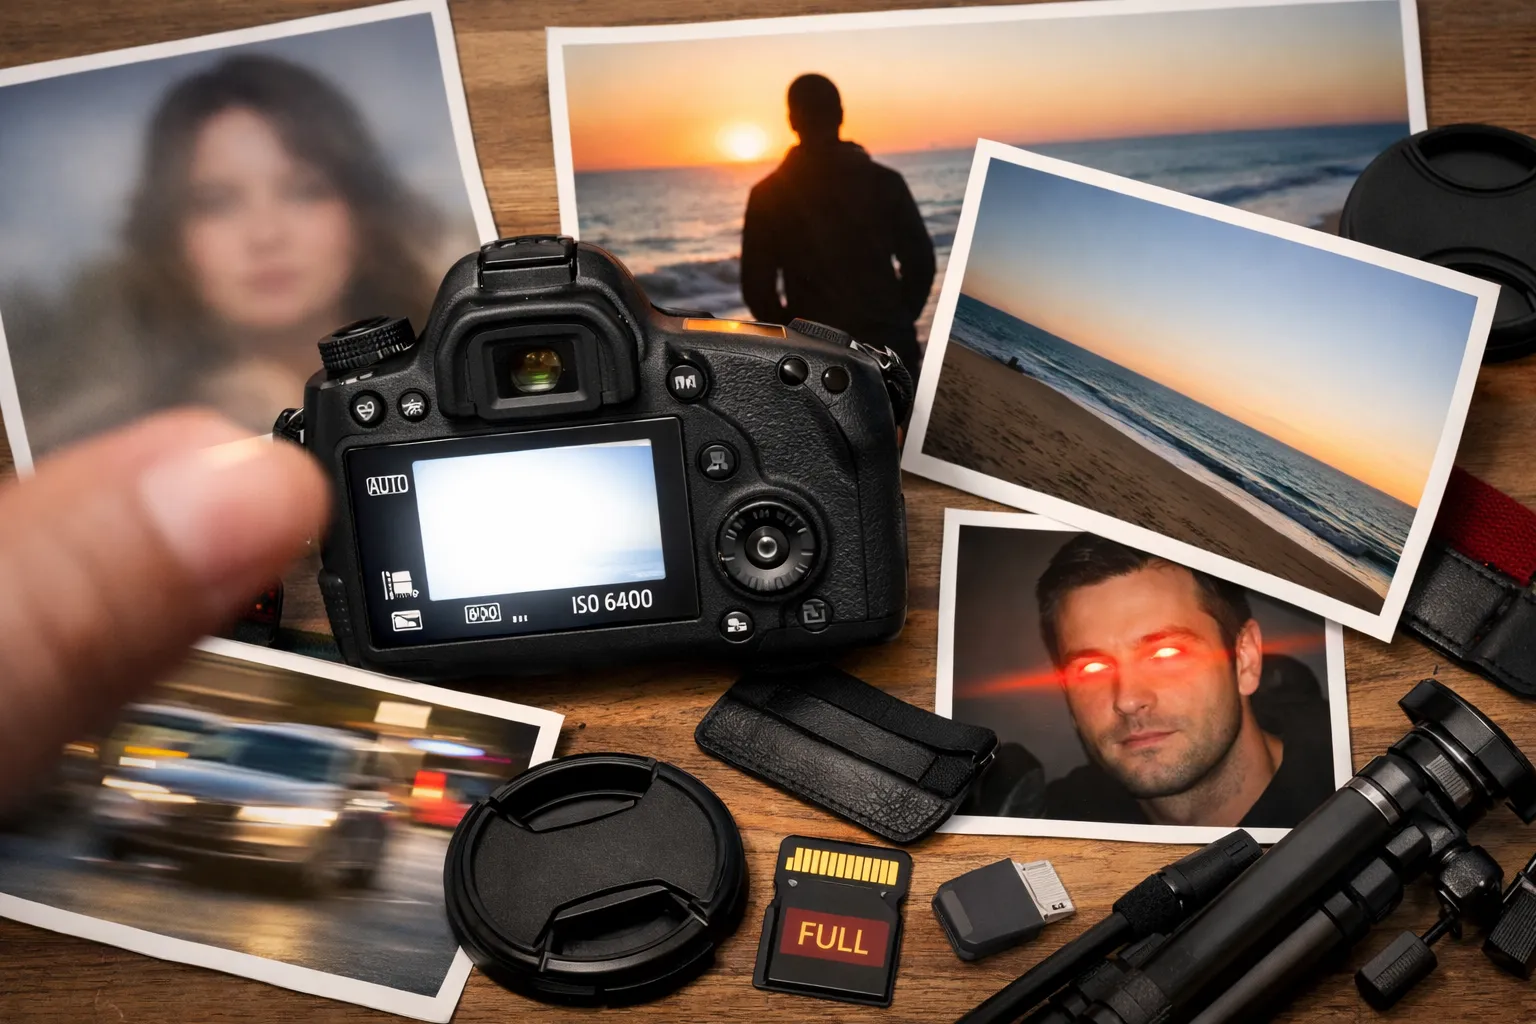
10 Beginner Photography Mistakes Everyone Makes (And How to Fix Them)
Avoid the most common beginner photography mistakes that ruin your photos. Learn practical fixes for blurry images, bad composition, and exposure problems.
The Ultimate Guide to 3D Printing (2026)
Your complete guide to 3D printing—from choosing your first printer to selling your prints. Everything beginners need to start their 3D printing journey.
3D Print Not Sticking to Bed? Every Fix You Need
First layer keeps failing? Here's every reason your 3D print won't stick to the bed and how to fix it—from bed leveling to adhesion helpers.