10 Beginner Photography Mistakes Everyone Makes (And How to Fix Them)
Avoid the most common beginner photography mistakes that ruin your photos. Learn practical fixes for blurry images, bad composition, and exposure problems.
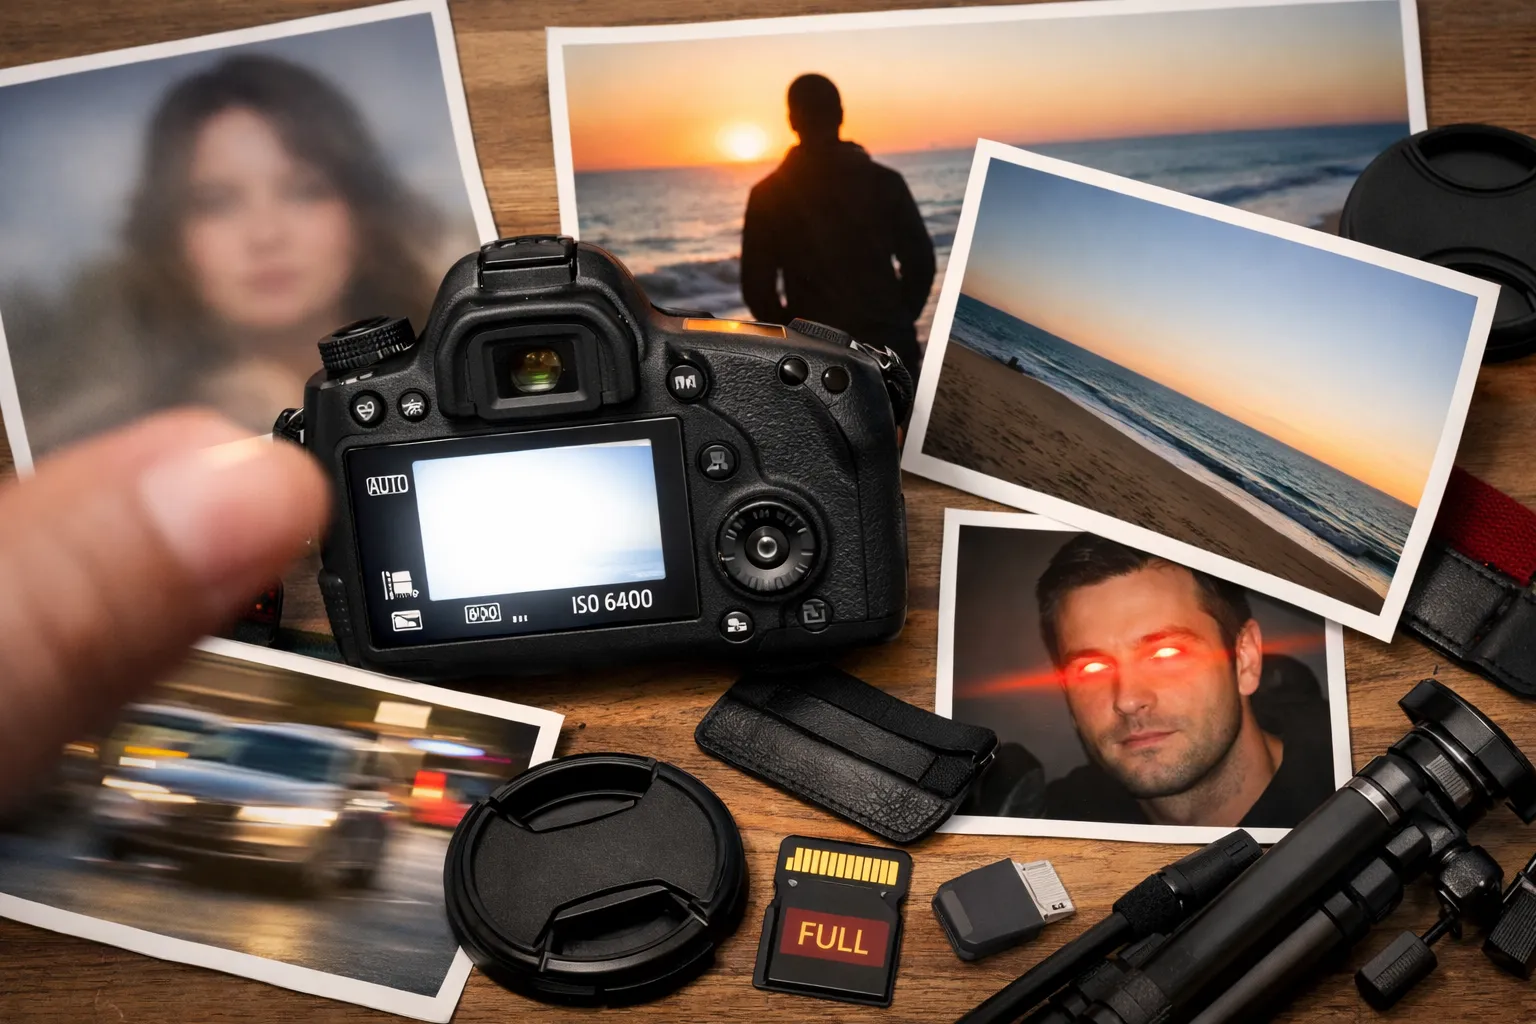
Every photographer makes mistakes when starting out. The difference between those who improve and those who get frustrated is learning to recognize and fix these mistakes quickly. (These tips apply to any camera — from the Canon EOS R100 to a smartphone.)
In this guide, I’ll show you the 10 most common beginner photography mistakes I see constantly - and exactly how to fix each one. These aren’t theoretical problems; they’re real issues that affect nearly every new photographer.
Mistake 1: Blurry Photos from Slow Shutter Speed
The most frustrating beginner mistake: photos that look great on your camera’s LCD but blurry when you view them on a computer.
Why It Happens
Camera shake during exposure. When your shutter speed is too slow, any movement - breathing, heartbeat, pressing the shutter - creates blur.
The Rule of Thumb
Your shutter speed should be at least 1/focal length for sharp handheld shots.
- 18mm lens: 1/20s minimum
- 50mm lens: 1/60s minimum
- 200mm lens: 1/200s minimum
For beginners without steady hands, double these numbers to be safe.
The Fix
- Check shutter speed before shooting - glance at the display
- Increase ISO to allow faster shutter speeds
- Use image stabilization if your camera/lens has it
- Brace yourself - elbows tucked, lean against something
- Use burst mode - one frame might be sharper than others
Pro Tip
For moving subjects (kids, pets, sports), use at least 1/250s regardless of focal length. Movement blur compounds camera shake.
Mistake 2: Everything in Focus (Or Nothing)
New photographers often shoot everything at f/8 or let the camera decide aperture. The result: photos where nothing stands out.
Understanding Aperture
- Wide aperture (f/1.8-f/4): Shallow depth of field, blurry background
- Medium aperture (f/5.6-f/8): Moderate depth of field
- Narrow aperture (f/11-f/16): Everything sharp
When to Use Each
Portraits: f/1.8-f/4 separates your subject from the background Landscapes: f/8-f/11 keeps foreground and background sharp Street photography: f/5.6-f/8 provides flexibility Groups: f/5.6-f/8 ensures everyone is in focus
The Fix
- Use Aperture Priority mode (A or Av) to control depth of field
- Learn the effect - shoot the same scene at f/2.8, f/5.6, and f/11
- Consider your subject - what should be sharp? What shouldn’t?
Common Mistake
Shooting portraits at f/1.4 sounds good, but depth of field is so thin that one eye might be sharp while the other is soft. Start at f/2.8 for portraits.
Mistake 3: Centering Every Subject
New photographers instinctively place their subject dead center. This works sometimes, but creates static, boring compositions most of the time.
The Rule of Thirds
Imagine your frame divided into a 3x3 grid. Place your subject on the intersection points, not the center.
For portraits: Eyes on the upper third line For landscapes: Horizon on lower or upper third line For action: Subject moving into the frame, not out of it
The Fix
- Enable grid overlay in your camera settings
- Consciously place subjects off-center until it becomes habit
- Leave “breathing room” in the direction your subject faces
When Centering Works
- Symmetrical subjects (architecture, reflections)
- Powerful, confrontational portraits
- Square formats (Instagram)
Learn the rule, then break it intentionally.
Mistake 4: Shooting Only at Eye Level
Standing straight, camera at eye level, clicking. It’s the most natural way to shoot - and often the least interesting.
Why It’s a Problem
- Everyone sees the world from eye level
- It’s the least dynamic angle
- It creates boring, repetitive compositions
The Fix
Get low: Shoot children and pets at their eye level. Shoot upward at buildings. Lie on the ground for dramatic effect.
Get high: Find elevated positions. Shoot down on subjects. Use stairs, balconies, or simply raise your arms.
Shoot through things: Frames within frames - doorways, windows, foliage - add depth and context.
Practical Examples
- Children: Kneel or sit to meet their eyes
- Food: Shoot directly overhead or at 45 degrees
- Architecture: Low angle looking up
- Landscapes: Low to include foreground interest
Mistake 5: Bad Light (Or Ignoring Light Entirely)
Light is photography. Yet beginners often pay more attention to their subject than the light falling on it.
The Worst Light
Midday sun: Harsh shadows, squinting subjects, high contrast. The worst time for most photography.
The Best Light
Golden hour: First/last hour of sunlight. Warm, soft, directional. Transforms ordinary scenes.
Overcast: Soft, even light. Perfect for portraits - no harsh shadows.
Shade: Open shade on sunny days provides soft, flattering light.
The Fix
- Shoot during golden hour for outdoor portraits and landscapes
- Move subjects to shade in harsh light
- Position light source to the side for dimension
- Turn off flash indoors near windows - natural light is more flattering
Understanding Light Direction
- Front light: Flat, safe, boring
- Side light: Dramatic, dimensional, interesting
- Backlight: Challenging but beautiful (watch for lens flare)
Mistake 6: Not Getting Close Enough
Robert Capa said: “If your pictures aren’t good enough, you’re not close enough.” This applies to almost every beginner photographer.
Why Distance Kills Photos
- Subjects get lost in busy backgrounds
- Details disappear
- Emotional connection weakens
- Composition becomes cluttered
The Fix
- Fill the frame with your subject
- Zoom with your feet - physically move closer
- Eliminate distractions - if it doesn’t add, it subtracts
- Shoot, then step closer and shoot again
When to Step Back
- Environmental portraits where context matters
- Landscapes where scale is the subject
- Architecture where geometry needs space
But even then, most beginners include too much, not too little.
Mistake 7: Relying Only on Auto Mode
Full Auto mode prevents disasters but also prevents growth. You can’t learn photography if the camera makes every decision.
The Learning Path
Week 1-2: Full Auto to focus on composition Week 3-4: Program mode (P) with exposure compensation Month 2: Aperture Priority (A/Av) for depth of field control Month 3: Shutter Priority (S/Tv) for motion control Month 4+: Manual when needed
Not sure which camera to learn on? Our Canon R100 vs Nikon Z50 II comparison covers the best beginner options.
The Fix
- Use Aperture Priority (A/Av) for most situations
- Learn to read the exposure meter
- Use exposure compensation (+/- button) to adjust
- Check histograms to evaluate exposure
When Auto Is Fine
- Fast-moving situations where you can’t adjust
- When handing camera to someone else
- Family snapshots where missing the moment is worse than imperfect exposure
Mistake 8: Ignoring the Background
Beginners focus entirely on their subject, missing the tree growing out of someone’s head, the distracting sign, or the cluttered background.
Common Background Problems
- Objects “growing” from subjects’ heads
- Bright distractions pulling attention
- Busy patterns competing with subject
- Horizon lines cutting through heads
The Fix
- Scan the entire frame before shooting
- Move your position slightly - often fixes background issues
- Use wider aperture to blur distracting backgrounds
- Simplify - clean backgrounds create powerful images
Pro Tip
Before pressing the shutter, consciously look at all four corners of your frame. What’s there? Does it help or hurt?
Mistake 9: Not Understanding ISO
ISO is the most misunderstood setting. Beginners either leave it at 100 (blurry photos in low light) or ignore it (camera in Auto-ISO making questionable choices).
What ISO Actually Does
Higher ISO = brighter image = more noise (grain) Lower ISO = darker image = cleaner files
When to Increase ISO
Indoors without flash: ISO 800-3200 Evening/night: ISO 1600-6400 Action in low light: ISO 3200+ Cloudy days: ISO 400-800
The Fix
- Modern cameras handle high ISO well - don’t fear ISO 3200+
- A noisy photo is better than a blurry photo - increase ISO for faster shutter
- Learn Auto-ISO limits - set maximum ISO you’re comfortable with
- Test your camera - shoot the same scene at different ISOs to learn its limits
The Modern Reality
Entry-level cameras in 2026 produce clean images at ISO 3200 and usable images at ISO 6400. Don’t sacrifice shutter speed to stay at ISO 100.
Mistake 10: Never Deleting Bad Photos
Keeping every photo creates several problems:
- Storage fills up quickly
- Finding good photos becomes hard
- You don’t develop critical judgment
- Mediocre work dilutes your portfolio
Why We Keep Bad Photos
- “Maybe I can fix it in editing” (you won’t)
- “But I was there” (memory isn’t quality)
- Fear of deleting something good
- Not knowing what makes a photo bad
The Fix
In-camera: Delete obvious failures immediately - completely out of focus, accidental shots, test shots.
First cull: Import to computer, quick pass deleting obviously bad images.
Second cull: Rate remaining images 1-5 stars. Only keep 3+ stars.
Final edit: Select only the best version of similar shots. A fast RAW editor like RapidRAW makes this process much quicker.
Be Ruthless
Better to have 10 excellent photos than 500 mediocre ones. Professional photographers might keep 1-5% of what they shoot.
Bonus: Quick Fix Checklist
Before every shot, quickly check:
- Light - Is the direction flattering?
- Background - Is it clean and undistracting?
- Composition - Is the subject off-center? Filling the frame?
- Settings - Is shutter speed fast enough?
- Focus - Is it on the right subject (the eyes)?
The Most Important Lesson
Every photographer makes these mistakes. The masters simply made them earlier and more often.
Don’t get discouraged by bad photos. Each one teaches you something. Review your failures, identify what went wrong, and deliberately practice the fix.
In six months of intentional practice, you’ll look back at today’s photos and cringe - and that’s exactly how it should be. Growth requires discomfort.
Now go shoot, make mistakes, and learn from them.
Want to continue learning? Check out our guide to the best cameras for beginners or learn DSLR vs mirrorless: which should you buy?. For all our photography content, see the Photography Guide and Photography Buying Guide.
Related Articles
10 Most Common 3D Printing Beginner Mistakes (And How to Avoid Them)
Almost every 3D printing beginner makes these mistakes. Learn from others and save yourself frustration, time, and filament with our tips.

Step-by-Step: Your First AI-Planned Trip with ChatGPT (2026 Tutorial)
A beginner-friendly tutorial for planning your first trip with ChatGPT. Follow along step-by-step from your first prompt to a complete travel itinerary.

Photography for Beginners: The Complete Guide (2026)
Your complete guide to photography—from choosing your first camera to taking better photos. Everything beginners need to start their photography journey.