Photography for Beginners: The Complete Guide (2026)
Your complete guide to photography—from choosing your first camera to taking better photos. Everything beginners need to start their photography journey.
Everyone takes photos, but most people never learn to take good photos. The difference isn’t expensive gear—it’s understanding a few fundamentals and practicing consistently.
This guide will take you from “I just point and shoot” to “I understand what I’m doing and why.” No photography degree required.
How to Use This Guide
This is a hub page—a central starting point for everything photography.
If you’re considering buying a camera: Start with Part 1 to understand your options.
If you just got a camera: Jump to Part 3 for essential settings and Part 4 for composition basics.
If you’re troubleshooting bad photos: Part 5 covers common mistakes and fixes.
If you want to improve faster: Part 6 has practice exercises and next steps.
The Big Picture: Your Photography Journey
| Stage | What You’ll Learn | Time Investment |
|---|---|---|
| Research | Camera types, what you need | 1-2 hours |
| Purchase | Choosing the right camera | 1-2 days |
| Basics | Settings, exposure triangle | 1-2 weeks |
| Composition | Rule of thirds, framing | 2-4 weeks |
| Proficiency | Consistent good photos | 2-3 months |
| Style | Your unique look | Ongoing |
Most people see dramatic improvement within the first month of intentional practice.
Part 1: Choosing Your First Camera
The most common question—and the one that matters least in the long run. But let’s get it right.
Do You Even Need a Camera?
Your smartphone is probably fine if:
- You only share photos on social media
- You shoot mostly in good light
- You don’t want to carry extra gear
- You’re happy with your current photo quality
Buy a dedicated camera if:
- You want better low-light performance
- You want creative control (blur backgrounds, etc.)
- You want optical zoom (not digital crop)
- Photography is becoming a serious interest
Deep dive: Camera vs Smartphone: Is a Dedicated Camera Still Worth It?
DSLR vs Mirrorless: The 2026 Answer
| Factor | DSLR | Mirrorless |
|---|---|---|
| Size | Larger, heavier | Compact, lighter |
| Autofocus | Good | Excellent (eye AF) |
| Battery life | Longer | Shorter |
| Viewfinder | Optical (true to life) | Electronic (shows exposure) |
| Future support | Declining | Where the industry is going |
| Used market | More options, cheaper | Growing |
My recommendation: Buy mirrorless unless you find an irresistible DSLR deal. The technology has matured, and manufacturers are focused on mirrorless now.
Deep dive: DSLR vs Mirrorless for Beginners
Best Beginner Cameras (2026)
| Camera | Price | Best For | Our Take |
|---|---|---|---|
| Canon EOS R100 | $480 | Budget mirrorless | Great value, easy to use |
| Nikon Z50 II | ~$860 | All-around beginner | Excellent ergonomics |
| Sony a6400 | ~$900 | Best autofocus | Eye AF is incredible |
| Fujifilm X-T30 II | $900 | Style + quality | Beautiful color science |
Budget pick: Canon EOS R100—best value under $500 Best overall: Sony a6400—the autofocus alone is worth it
Deep dives:
The Budget Option: Vintage/Used Cameras
Don’t overlook older cameras. A 10-year-old mirrorless still takes great photos:
| Camera | Used Price | Why Consider It |
|---|---|---|
| Olympus PEN E-PM2 | $100-150 | Tiny, great image quality |
| Sony a6000 | $350-500 | Still excellent in 2026 |
| Fujifilm X-T20 | $550-700 | Beautiful colors |
The Olympus PEN series is particularly interesting—pocket-sized with interchangeable lenses.
Deep dive: Olympus PEN E-PM2: The Perfect Compact Camera?
Part 2: Essential Gear (Beyond the Camera)
You need more than just a camera body. Here’s what actually matters.
Must-Have Accessories
| Item | Why You Need It | Budget |
|---|---|---|
| SD Card | 64GB+ Class 10 or faster | $15-30 |
| Extra battery | Mirrorless drains fast | $25-50 |
| Camera bag | Protection + convenience | $30-60 |
| Lens cloth | Keep your glass clean | $5-10 |
Total accessory budget: $75-150
Nice-to-Have (Later)
| Item | Why Consider It | Budget |
|---|---|---|
| Tripod | Low light, long exposures | $50-150 |
| Prime lens | Better low light, sharper | $150-400 |
| External flash | Indoor/event photography | $80-200 |
| Filters (ND, CPL) | Landscape photography | $30-100 |
Pro tip: Master your kit lens before buying more glass. Most beginners blame gear for technique problems.
Part 3: Understanding Your Camera
Time to learn what all those buttons do.
The Exposure Triangle
Every photo is a balance of three settings:
                    EXPOSURE
                        △
                       / \
                      /   \
                     /     \
                    /       \
            APERTURE ——————— ISO
                     \     /
                      \   /
                       \ /
                    SHUTTER
SPEED| Setting | What It Controls | Side Effect |
|---|---|---|
| Aperture (f/) | Light amount | Depth of field (blur) |
| Shutter Speed | Light duration | Motion blur/freeze |
| ISO | Sensor sensitivity | Noise/grain |
Aperture Explained
- Low f-number (f/1.8) = More light, blurry background
- High f-number (f/11) = Less light, everything sharp
Use low aperture for portraits (blurry background). Use high aperture for landscapes (everything in focus).
Shutter Speed Explained
- Fast (1/1000s) = Freeze motion, less light
- Slow (1/30s) = Motion blur, more light
Rule of thumb: Keep shutter speed at least 1/(focal length). So 50mm lens = minimum 1/50s to avoid camera shake.
ISO Explained
- Low (100-400) = Clean image, needs more light
- High (3200+) = Noisy image, works in darkness
Always use the lowest ISO you can. Only raise it when you need faster shutter speeds.
Camera Modes Demystified
| Mode | You Control | Camera Controls | Best For |
|---|---|---|---|
| Auto | Nothing | Everything | Snapshots |
| P (Program) | ISO | Aperture + Shutter | Quick shots |
| A/Av (Aperture Priority) | Aperture + ISO | Shutter | Most situations |
| S/Tv (Shutter Priority) | Shutter + ISO | Aperture | Action/sports |
| M (Manual) | Everything | Nothing | Full control |
Start with Aperture Priority (A or Av). It gives you creative control over depth of field while the camera handles the math.
Part 4: Composition Basics
Good composition separates snapshots from photographs. These rules will immediately improve your images.
Rule of Thirds
Divide your frame into a 3x3 grid. Place interesting elements along the lines or at intersections.
┌─────────┬─────────┬─────────┐
│         │         │         │
│    ●────┼─────────┼────●    │
│         │         │         │
├─────────┼─────────┼─────────┤
│         │         │         │
│         │         │         │
│         │         │         │
├─────────┼─────────┼─────────┤
│         │         │         │
│    ●────┼─────────┼────●    │
│         │         │         │
└─────────┴─────────┴─────────┘
       ● = Power points
Don’t center everything. Place your subject on a third line.
Leading Lines
Use natural lines (roads, fences, rivers) to draw the viewer’s eye into the frame.
Framing
Use doorways, windows, branches, or archways to create a “frame within a frame.”
Simplify
The biggest beginner mistake: too much clutter. When in doubt, get closer or change your angle to simplify the scene.
The 5-Shot Rule
For any subject, try these five shots:
- Wide establishing shot
- Medium shot
- Close-up detail
- Creative angle (low/high)
- Portrait/environmental
This forces you to think beyond your first instinct.
Part 5: Common Mistakes (And How to Fix Them)
Learn from others’ errors.
Mistake 1: Blurry Photos
Causes:
- Shutter speed too slow (camera shake)
- Subject moved
- Missed focus
Fixes:
- Use faster shutter speed (1/125s minimum for handheld)
- Enable image stabilization
- Check your autofocus point
Mistake 2: Bad Lighting
Problem: Harsh shadows, squinting subjects, flat images
Fixes:
- Shoot during “golden hour” (1 hour after sunrise, before sunset)
- Move subjects into open shade
- Never shoot with sun directly behind you
Mistake 3: Centering Everything
Problem: Boring, static compositions
Fix: Apply rule of thirds. Give subjects “room to breathe” in the direction they’re facing.
Mistake 4: Wrong Focus Point
Problem: Background sharp, subject blurry
Fix: Use single-point autofocus. Place the point on your subject’s eye (for portraits) or the main subject.
Mistake 5: Too Much Gear, Not Enough Practice
Problem: Obsessing over equipment instead of shooting
Fix: Set a gear budget and stick to it. Spend more time shooting than researching cameras.
Deep dive: 10 Beginner Photography Mistakes Everyone Makes
Part 6: Getting Better Faster
Talent is overrated. Deliberate practice works.
Daily Practice Ideas
| Time | Exercise |
|---|---|
| 5 min | Photograph one object 10 different ways |
| 15 min | Walk around the block, take 20 photos |
| 30 min | Pick a theme (shadows, red things, textures) |
| 1 hour | Visit a new location and document it |
Learn from Your Photos
After each session:
- Pick your 3 best photos—why do they work?
- Pick your 3 worst photos—what went wrong?
- Identify one thing to improve next time
Study Good Photography
- Follow photographers you admire on Instagram
- Visit museum photography exhibits
- Analyze photos: What’s the light doing? Where’s the focus? What’s the composition?
Challenges to Try
| Week | Challenge |
|---|---|
| 1 | Shoot only with your kit lens at 50mm |
| 2 | Manual mode only—no auto anything |
| 3 | Black and white only |
| 4 | One photo per day, posted publicly |
Constraints breed creativity.
Part 7: What’s Next?
Once you’ve got the basics down, here’s where to go deeper.
Specialize in a Genre
| Genre | What You’ll Learn | Gear Needs |
|---|---|---|
| Portrait | Lighting, posing, connection | Fast prime lens |
| Landscape | Patience, planning, filters | Tripod, wide lens |
| Street | Timing, courage, storytelling | Compact camera |
| Macro | Precision, patience | Macro lens |
| Wildlife | Fieldcraft, long waits | Telephoto lens |
Pick one genre and go deep before branching out.
Editing Your Photos
Raw photos need editing. Free/cheap options:
| Software | Platform | Price |
|---|---|---|
| Lightroom Mobile | iOS/Android | Free (limited) |
| Snapseed | iOS/Android | Free |
| Darktable | Desktop | Free |
| RapidRAW | Desktop | Free (open-source) |
| Lightroom Classic | Desktop | $10/month |
Start with Lightroom Mobile—it’s powerful and free for basic editing. If you’re on a Mac, check out our best free macOS software guide for more creative tools.
Building a Portfolio
- Start an Instagram dedicated to your photography
- Create a simple website (Squarespace, Adobe Portfolio)
- Print your best work—it forces critical evaluation
Quick Start Checklist
Before You Buy
- Decide: Dedicated camera or stick with smartphone?
- Set a budget ($400-800 for camera + accessories)
- Read: Camera vs Smartphone
First Week with Your Camera
- Read the manual (seriously)
- Learn to change aperture, shutter, ISO
- Shoot in Aperture Priority mode
- Take 100+ photos of anything
First Month
- Understand the exposure triangle
- Practice rule of thirds in every shot
- Identify your 3 most common mistakes
- Edit your first photos
Ongoing
- Shoot regularly (daily if possible)
- Study photos you admire
- Pick a genre to explore
- Share your work and get feedback
All Photography Guides
Choosing a Camera:
- Best Cameras for Beginners
- Best Cameras Under $500
- DSLR vs Mirrorless for Beginners
- Canon R100 vs Nikon Z50 II
- Camera vs Smartphone
Specific Cameras:
Improving Your Skills:
The Bottom Line
Photography isn’t about having the best camera. It’s about seeing light, understanding composition, and practicing consistently.
Your smartphone can take amazing photos if you understand these fundamentals. A $3000 camera won’t help if you don’t.
Your next step: If you don’t have a camera, read Camera vs Smartphone to decide if you need one. If you do have a camera, pick one composition rule from Part 4 and practice it for a week.
The best photographers aren’t the ones with the best gear. They’re the ones who shoot the most.
Now go take some photos.
This guide is updated regularly as new cameras release. Last updated: March 2026.
Have a question not covered here? Let us know.
Related Articles
Photography Buying Guide: Everything You Need to Start in 2026
The complete guide to buying your first camera in 2026. From budget options to the DSLR vs mirrorless debate, we cover everything without the gear-head jargon.
The Ultimate Guide to 3D Printing (2026)
Your complete guide to 3D printing—from choosing your first printer to selling your prints. Everything beginners need to start their 3D printing journey.
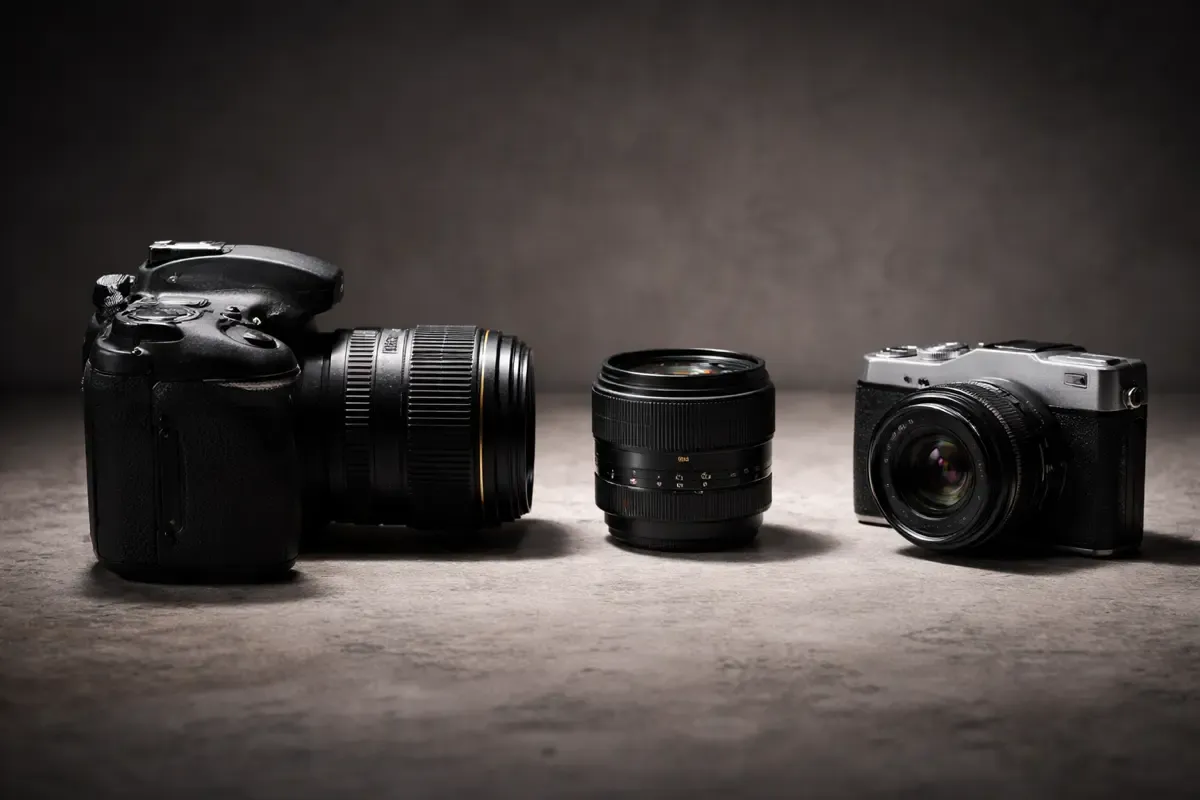
DSLR vs Mirrorless for Beginners: Which Camera Type Should You Buy?
DSLR or mirrorless camera? We explain the key differences, pros and cons, and help beginners decide which camera type is right for their photography journey.